The Definitive Guide to Safety Sign Hazard Identification
Why Safety Sign Hazard Identification Is Critical for Australian Workplaces
Safety sign hazard identification is the systematic process of recognising, categorising, and communicating workplace dangers through standardised visual signage. This critical safety practice helps prevent accidents, ensures regulatory compliance, and creates a safer work environment for all employees and visitors.
Key Safety Sign Hazard Categories:
- Danger Signs - Red header indicating immediate, life-threatening hazards
- Warning Signs - Orange header for potentially serious hazards
- Caution Signs - Yellow header for hazards that may cause minor injury
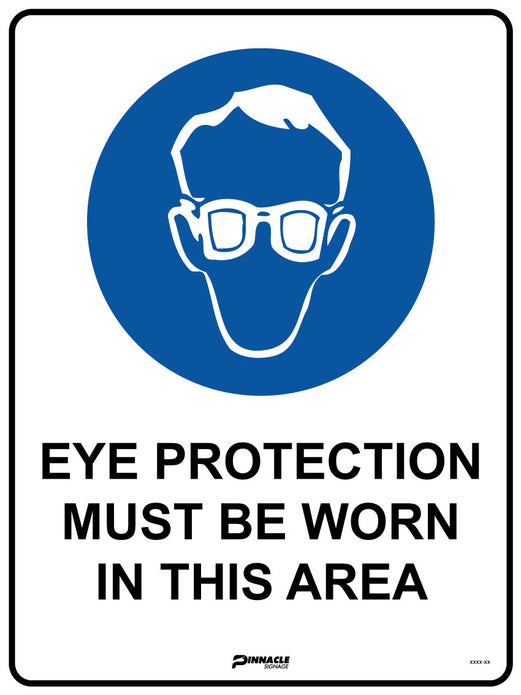
- Mandatory Signs - Blue background requiring specific safety actions
- Emergency Signs - Green background indicating safety equipment or exits
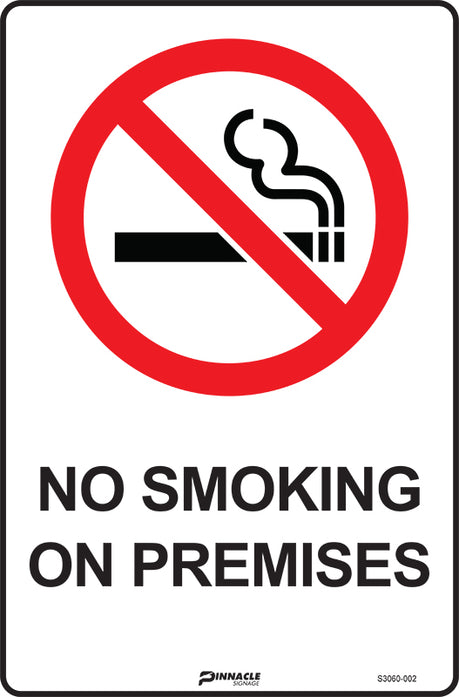
- Prohibition Signs - Red circle with diagonal line showing forbidden actions
Safety signs serve as your first line of defence against workplace accidents. Research shows that properly implemented safety signage can reduce workplace accidents by up to 80% by improving hazard awareness and communication. Yet OSHA reports that hazard communication standards remain among the most frequently cited workplace violations.
The challenge isn't just knowing what signs to use—it's understanding how to identify hazards correctly, select appropriate signage, and maintain compliance with Australian standards like AS 1319.
I'm Doug Lindqvist, and through my years in the safety and industrial supply space, I've seen how proper safety sign hazard identification can prevent serious incidents and keep workplaces compliant. My experience with challenging custom signage requirements led me to establish Pinnacle Signage, where we help Australian businesses implement effective hazard communication systems.
What Is a Safety Sign Hazard and Why It Matters
A safety sign hazard is any workplace condition, substance, or activity that poses a risk to people or property and requires visual communication through standardised signage. These hazards span everything from exposed machinery to chemical storage areas or slip zones.
Poor hazard communication leads to thousands of workplace incidents each year, with HazCom violations consistently ranking among the most cited safety breaches. When done properly, safety signage transforms workplace culture, creating an environment where everyone can immediately recognise and respond to potential dangers.
The Core Definition of a Safety Sign Hazard
According to OSHA Standard 1910.145, a safety sign hazard is any condition requiring visual identification to prevent accidental injury or property damage. Australian Standard AS 1319 takes a similar approach, emphasising that hazard communication must be immediate and universally understood.
Immediate dangers—like unstable structures or live electrical components—require the red "DANGER" header. These situations could cause serious injury or death if someone proceeds without proper precautions.
Potential hazards warrant "WARNING" signs with orange headers. These might include areas where overhead cranes operate or where chemical reactions could occur. The risk is real, but it's not necessarily imminent.
How Safety Signs Prevent Accidents
Safety signs work because they tap into how our brains process visual information. When you see a familiar warning symbol, your mind instantly recognises the danger and triggers appropriate responses.
This universal symbol recognition is incredibly powerful. A skull and crossbones means poison whether you're in Sydney or Stockholm. A flame symbol indicates fire hazard in any language.
Research from OSHA's hazard communication studies shows that properly implemented safety signage can reduce workplace accidents by up to 80 percent. The effectiveness comes from improved risk perception, learned responses to familiar warning signs, and constant vigilance—signs never take breaks or forget to mention a hazard.
Consistency makes the difference between effective and ineffective signage. When workers encounter the same visual language across different sites, they build automatic safety responses. This is why adherence to standards like AS 1319 isn't just about compliance—it's about creating a safety system that works when people need it most.
Types & Meanings of Safety Signs & Hazard Symbols
Understanding the visual language of safety signage is crucial for creating workplaces where everyone can quickly recognise and respond to potential dangers. Modern safety signage uses universal design principles—warning triangles for general hazards, prohibition circles with red borders for forbidden actions, mandatory blue signs for required safety actions, and emergency green signs for safety equipment or exits.
Chemical hazards require special attention through GHS pictograms that provide internationally recognised symbols, NFPA diamond systems for fire and health hazards, and specialised symbols like the radiation trefoil and biohazard indicator for the highest-risk situations.
For detailed guidance on chemical signage, see our guide on hazard symbols and chemical signage. For OSHA's standardised pictograms, check their official pictogram guide.
Danger, Warning & Caution: Reading the Signal Words
The three-tier system of DANGER, WARNING, and CAUTION forms the backbone of effective safety sign hazard communication—a carefully designed hierarchy that helps your brain instantly assess risk levels.
DANGER signs with bold red headers are reserved for situations where someone could die or suffer severe injury without immediate precautions. Think high-voltage electrical equipment, unstable structures, or confined spaces with deadly atmospheric hazards.
WARNING signs use bright orange headers for potentially hazardous situations that could result in serious injury or death with careless behaviour. You'll see them around moving machinery, chemical storage areas, or anywhere overhead hazards might strike.
CAUTION signs use yellow headers for everyday hazards that can still hurt you—wet floors, low clearances, or steps that might trip you up. Yellow doesn't mean harmless; it means stay alert and take basic safety measures.
This colour psychology works with your natural reactions. Red triggers immediate alarm responses, orange commands attention while keeping you focused, and yellow provides clear visibility while signalling basic awareness needs.
For detailed guidance on danger signage implementation, see our comprehensive guide to custom danger signs.
Decoding GHS & Other Chemical Symbols
The Globally Harmonised System (GHS) provides standardised pictograms with distinctive red diamond frames on white backgrounds that communicate chemical risks across language and cultural barriers.
Key GHS symbols include:
- Health hazard pictogram - warns of substances causing cancer, respiratory damage, or reproductive harm
- Flammable symbols - indicate substances that ignite easily and burn rapidly
- Corrosive symbol - shows materials that cause severe burns or destroy equipment
- Toxic pictograms - classic skull and crossbones for highest acute toxicity
- Environmental hazard symbol - dead tree and fish indicating environmental contamination risks
Research from GHS effectiveness studies confirms that consistent symbol usage dramatically improves hazard recognition across diverse workforces. ISO 7010 complements these chemical symbols with standardised pictograms for mechanical, electrical, and environmental hazards.
Emergency & Information Signs Everyone Should Know
Emergency signs use specific colours and universally recognised symbols to guide people to safety equipment and exits during both routine incidents and full-scale evacuations.
First aid signs with white crosses on green backgrounds mark medical equipment and personnel locations. Fire equipment signs use bold red colours for extinguishers, hose reels, and firefighting equipment. Exit signs provide clear evacuation routes with backup lighting for power failures.
Emergency Information Panels (EIPs) provide comprehensive hazard information for chemical storage, including UN numbers, Hazchem codes, and emergency contact information that responders need. Notice signs use blue backgrounds for general safety instructions, while direction arrows guide people to safety equipment or emergency exits in complex facilities.
Designing, Placing & Maintaining Effective Safety Sign Hazard Systems
Creating an effective safety sign hazard system requires understanding how people move through your workplace, what catches their attention, and how Australian conditions affect signage over time. The harsh Australian sun, extreme temperatures, and unpredictable weather can turn perfectly good signs into illegible liabilities faster than expected.
Effective safety signage considers where people naturally look, what obstacles might block their view, and how far away they'll be when reading critical information. These practical considerations, combined with proper material selection and regular maintenance, create signage systems that actually protect people.
For comprehensive guidance on Australian requirements, see our guide on understanding Australian standards for safety signs.
Placement Rules That Make or Break a Safety Sign Hazard
Proper safety sign hazard placement can mean the difference between preventing an accident and explaining why signage failed when it mattered most.
Eye-level positioning between 1.5 and 2 metres above ground level puts signs in most people's natural line of sight while keeping them above typical obstructions. Line-of-sight considerations require walking the same paths your workers take—can you clearly see warning signs from at least 3 metres away?
Hazard proximity creates clear mental connections between warnings and specific dangers. Position signs within 2 metres of actual hazards so workers don't have to guess which equipment warnings refer to. Doorway and entrance placement ensures people receive critical information before entering dangerous areas.
AS 1319 provides specific positioning standards, but practical visibility remains the real test. Consider lighting conditions, viewing angles from different heights, and whether signs remain visible when doors are open or equipment is in use.
Material Choices for Australian Conditions
Australia's intense UV radiation can turn vibrant red danger signs into pale pink suggestions within months if you choose wrong materials.
Aluminium signage handles harsh conditions better than alternatives—it won't warp in extreme heat, resists salt air corrosion, and provides stable graphics bases. Reflective materials become essential in poor lighting areas, while polycarbonate options offer excellent impact resistance.
The real challenge lies in UV resistance and colour stability. Red colours fade fastest because they absorb more UV radiation—particularly problematic for danger signs relying on red headers for recognition. Quality UV-resistant inks and protective coatings become essential investments.
Weather sealing and mounting systems must match material choices. Even the best sign materials fail if water infiltrates behind graphics or mounting systems create stress points during thermal expansion cycles.
Inspection, Maintenance & Replacement Intervals
Regular maintenance keeps your safety sign hazard system functioning when it matters most. Faded or damaged signs don't just become ineffective—they create legal liability if incidents occur and investigators find illegible safety signage.
Monthly visual inspections during routine workplace walkthroughs catch obvious problems before they become serious. Quarterly detailed assessments should evaluate text legibility from intended viewing distances, colour integrity, and mounting condition.
Annual comprehensive reviews assess whether signage systems still match current workplace hazards and layout. Immediate replacement criteria include any sign that can't be read clearly from intended viewing distance, shows significant colour fading, or has physical damage affecting its message.
Digital record keeping tracks installation dates, inspection findings, and replacement schedules. This documentation demonstrates due diligence and helps identify patterns where signs consistently fail faster due to environmental conditions.
Compliance & Training: Meeting Your Legal Obligations
Meeting legal obligations for safety sign hazard identification involves creating genuinely safe workplaces that protect your people and business. Australian workplaces face complex regulations, from the Work Health and Safety Act to AS 1319 technical requirements, plus international standards like ISO 3864 and GHS requirements.
Compliance doesn't have to be overwhelming. With the right approach, you can build safety signage systems that meet regulatory requirements while actually making your workplace safer and more efficient.
For practical implementation guidance, explore our guide on making your workplace safe and secure with high-quality safety signage.
Building a Compliant Hazard Communication Program
A compliant hazard communication program starts with a written HazCom plan documenting your systematic approach to workplace safety. This roadmap ensures consistent, effective hazard identification across your entire operation.
Your written plan should specify how you identify hazards, criteria for selecting appropriate signage, installation procedures, and maintenance schedules. This documentation ensures organisational consistency and demonstrates regulatory commitment.
Safety Data Sheet (SDS) access must work with chemical hazard signage. Signs provide immediate hazard alerts while SDSs give detailed information for safe handling and emergency response. Label and sign consistency eliminates dangerous confusion by providing consistent hazard information across container labels, area signs, and safety documentation.
Regular compliance audits should evaluate both technical compliance with signage standards and practical hazard communication effectiveness. Documentation systems need to track sign installations, inspections, training records, and incident reports.
Training Staff to Recognise and Act on Safety Sign Hazards
The most perfectly designed safety sign hazard system won't prevent accidents if workers don't understand what signs mean or how to respond appropriately.
New employee inductions must cover all safety sign types workers will encounter, their meanings, and required responses. This foundation training creates knowledge bases workers need throughout their employment. Annual refresher training keeps safety sign knowledge sharp and introduces new signage or updated procedures.
Interactive training modules work better than PowerPoint presentations. Hands-on exercises, scenario-based discussions, and practical demonstrations help workers understand how to apply safety sign knowledge in real workplace situations.
Australia's diverse workforce often requires multilingual training materials ensuring everyone receives consistent safety information. Visual aids, translated materials, and interpreter services may be necessary for effective communication.
Competency assessments verify training effectiveness by identifying knowledge gaps and ensuring genuine program effectiveness. Toolbox talks provide regular opportunities to discuss specific safety signs, review recent incidents, and reinforce key safety messages.
The goal isn't just compliance—it's creating workplaces where everyone understands surrounding hazards and knows exactly how to stay safe.
Frequently Asked Questions about Safety Sign Hazard
The most common questions about safety sign hazard identification revolve around understanding signal words, maintenance requirements, and customisation options. These questions reflect real concerns Australian workplace managers face when implementing effective hazard communication systems.
What's the difference between 'Danger', 'Warning' and 'Caution' signs?
The hierarchy of signal words creates a clear system for communicating different risk levels. DANGER signs with red headers indicate immediate hazards with high probability of death or severe injury without proper precautions—think high-voltage electrical equipment or unstable structures.
WARNING signs use orange headers for potentially hazardous situations that could result in serious injury or death, but don't pose immediate danger. These mark areas like moving machinery zones or chemical storage areas where risk is real and serious, but there's typically time for proper precautions.
CAUTION signs feature yellow headers warning of potential hazards that may result in minor or moderate injury—slip and fall hazards, low clearance areas, or situations requiring basic safety awareness.
This colour-coded system works because it matches natural psychological responses. Red triggers immediate alertness, orange suggests serious concern requiring attention, and yellow indicates need for basic caution.
How often must safety signs be inspected and replaced?
Inspection frequency depends on environmental conditions and regulatory requirements. Monthly visual inspections should check for obvious damage, fading, or obstruction. Quarterly detailed inspections evaluate text legibility, colour integrity, and mounting condition. Annual comprehensive reviews assess entire signage systems for compliance and changing workplace conditions.
Signs must be replaced immediately if they become illegible from intended viewing distance, show significant colour fading, or have physical damage affecting their message. Environmental conditions significantly affect replacement schedules—outdoor signs exposed to Australia's intense UV radiation may require replacement every 3-5 years, while indoor signs in controlled environments might last 7-10 years with proper materials.
Can I customise safety signs and still stay compliant?
Yes, you can customise safety signs while maintaining full compliance, but you must follow specific guidelines. Australian Standard AS 1319 and other relevant standards specify requirements for colours, signal words, symbols, and layout that must be maintained regardless of customisation.
Successful customisation typically involves adding specific hazard details, company logos, or multilingual text while preserving standardised elements ensuring universal recognition. Common customisation options include adding specific equipment names, multilingual warnings, company branding, or detailed procedural instructions.
What you cannot change includes signal word hierarchy, standard colours, required symbols, and basic layout principles. These elements ensure signs remain universally recognisable and maintain safety effectiveness.
At Pinnacle Signage, we specialise in creating compliant custom safety signs meeting specific workplace needs while maintaining full regulatory compliance. Our design team understands Australian standards and can help achieve effective customisation without compromising safety or legal requirements.
Conclusion
Creating an effective safety sign hazard system isn't just about compliance—it's about building a workplace culture where everyone goes home safely each day. Through proper hazard identification, strategic signage placement, and ongoing maintenance, you're investing in your team's wellbeing and your business's long-term success.
The journey to effective safety communication requires attention to detail at every step. Thorough hazard identification ensures nothing gets overlooked, while appropriate sign selection guarantees clear messaging. Strategic placement puts warnings where they'll be seen, and quality materials ensure your investment lasts through Australia's challenging conditions.
Installing signs is only the beginning. Regular maintenance keeps safety messages visible and effective, while comprehensive training ensures your team understands what signs mean and how to respond. This systematic approach transforms basic compliance into genuine safety improvement.
Australian workplaces face unique challenges—from intense UV that fades inferior signage to diverse workforces requiring clear, universal communication. At Pinnacle Signage, we've spent years understanding these challenges and developing solutions that work in real Australian conditions.
Your workplace hazards are unique to your operations, and your signage should reflect that reality. Whether you need standard warning signs for common hazards or custom solutions for specialised risks, the key is ensuring every sign serves a clear purpose in protecting your people.
Safety signage evolves with your business. New equipment brings new hazards, changing regulations require updated compliance, and lessons learned highlight gaps in current systems. The most effective safety sign hazard programs treat this evolution as continuous improvement opportunities.
We understand that managing safety signage can feel overwhelming when juggling other business demands. Our experience makes the difference—we've helped countless Australian businesses steer safety compliance complexities while creating signage systems that work in practice, not just on paper.
Ready to improve your workplace safety through effective hazard communication? Our team is here to help you identify specific needs and develop solutions that protect your people while meeting all regulatory requirements.
For immediate access to proven safety solutions, explore our comprehensive range of danger signage products designed specifically for Australian workplace conditions.