Biohazard Warning Signs: What They Mean and Why They Matter
Why Biohazard Warning Signs Are Essential for Australian Workplaces
Biohazard warning signs are critical safety tools that identify the presence of biological hazards and protect workers from potentially dangerous exposure to infectious materials, contaminated equipment and hazardous biological agents.
Key Facts About Biohazard Warning Signs:
- Purpose: Alert personnel to biological hazards and prevent accidental exposure.
- Universal Symbol: A three-sided design created in 1966 to be "memorable but meaningless".
- Required Information: Must include the biohazard symbol, signal words and specific hazard details.
- Colour Standards: Fluorescent orange, red or orange-red with contrasting black lettering.
- Common Locations: Laboratory doors, waste containers, refrigerators and contaminated equipment.
- Two Main Types: Warning signs for locations and warning labels for containers.
From hospital laboratories processing blood samples to research facilities working with microorganisms, biohazard warning signs serve as the first line of defence against biological contamination. These signs don’t just meet regulatory requirements—they actively prevent workplace accidents and protect both staff and visitors from serious health risks.
The universal biohazard symbol we recognise today was designed by Charles Baldwin of Dow Chemicals in 1966. It was intentionally created to be "memorable but meaningless" so people could be properly educated about its significance, ensuring the symbol commands attention while requiring proper training to understand its implications.
At Pinnacle Signage, we’ve seen how proper biohazard warning signs prevent serious workplace incidents and help ensure compliance with Australian safety standards. When it comes to biological hazards, clear communication isn’t just important—it’s potentially life-saving.
What is a Biohazard Warning Sign and Why is it Crucial?
When you see that distinctive three-sided symbol in bright orange, you know immediately that biological danger is present. Biohazard warning signs serve as your workplace's primary communication tool for identifying biological hazards and protecting everyone from potentially dangerous exposure to infectious materials, contaminated equipment, and hazardous biological agents.
The primary purpose of these signs is to act as a first line of defence in preventing exposure and protecting personnel. Whether it's infectious waste in a medical facility or contaminated laboratory equipment, these signs clearly communicate biological risks and specify necessary entry and exit procedures.
The universal biohazard symbol is effective because of its deliberate design. It was created to be memorable while requiring proper training to understand its significance. This approach means that anyone encountering the symbol knows to take it seriously and follow established safety protocols.
For more insights into how warning labels contribute to workplace safety, our guide on Signs of Trouble: Understanding Danger Labels and Safety Signage provides valuable context on the broader safety signage landscape.
The Role in Workplace Health and Safety (WHS)
In Australian workplaces, biohazard warning signs play a fundamental role in meeting your WHS duties and demonstrating due diligence. These signs are essential components of effective risk management and safety protocols, helping you create a secure environment for staff, visitors, and the wider community.
By implementing proper biohazard signage, you are actively contributing to accident prevention. The signs help establish and reinforce safety protocols, ensuring everyone understands potential dangers and can take appropriate action. This proactive approach demonstrates your commitment to protecting people from biological contamination risks.
Facility managers, safety officers, and laboratory supervisors rely on these signs to communicate critical safety information instantly. They serve as constant reminders of the safety protocols in place and help maintain a strong safety culture.
How Signs Prevent Exposure to Hazardous Materials
Biohazard warning signs are active safety tools that prevent exposure before it happens.
- Alerting staff: Trained personnel see these signs and know to follow established safety procedures. This visual reminder is crucial in busy environments like hospitals or research labs.
- Informing visitors: Signage warns unauthorised personnel to avoid areas or equipment that pose a risk, preventing entry into dangerous zones without constant supervision.
- Specifying entry requirements: Many signs detail necessary procedures like required PPE, access protocols, or decontamination steps, ensuring everyone follows the same standards before entering.
- Mandating Personal Protective Equipment (PPE): Signs effectively communicate PPE requirements, often using symbols or text for gloves, masks, or lab coats to reduce direct contact with hazardous materials.
- Reducing accidental contamination: By clearly identifying contaminated items, waste, and areas, signs ensure correct handling, storage, and disposal procedures are followed, minimising cross-contamination.
These signs reinforce good safety behaviours and create a culture where biological hazards are properly respected and managed.
Understanding the Key Elements of Biohazard Warning Signs
Effective biohazard warning signs are carefully designed communication tools. They combine the universal biohazard symbol with specific information, strategic colour choices and clear signal words to instantly convey critical safety information. The combination of all elements working together is what makes the sign truly effective.
Essential Information for Biohazard Warning Signs
While the universal symbol is recognisable, effective signs provide crucial supporting details to keep everyone safe.
- Specific agent name: Whenever possible, signs should name the specific agent (for example, E. coli or influenza virus). This helps trained personnel use the correct protective measures and response procedures.
- Biosafety Level (BSL): In labs, the BSL rating (for example, BSL-1 for minimal risk or BSL-2 for moderate risk) clarifies the level of caution and safety measures required.
- Contact information: Including lab and emergency contact details is crucial for maintenance staff, cleaners or emergency responders who may need immediate guidance.
- Special procedures for entry: Door signs often list entry requirements such as mandatory PPE, training prerequisites or decontamination protocols, ensuring consistent safety standards.
Understanding different types of hazard symbols can help you appreciate why biohazard signs are designed the way they are. Our guide on Know Your Hazard Symbols: A Guide to Chemical Signage explores how different warning systems work together.
Colour, Symbols, and Signal Words
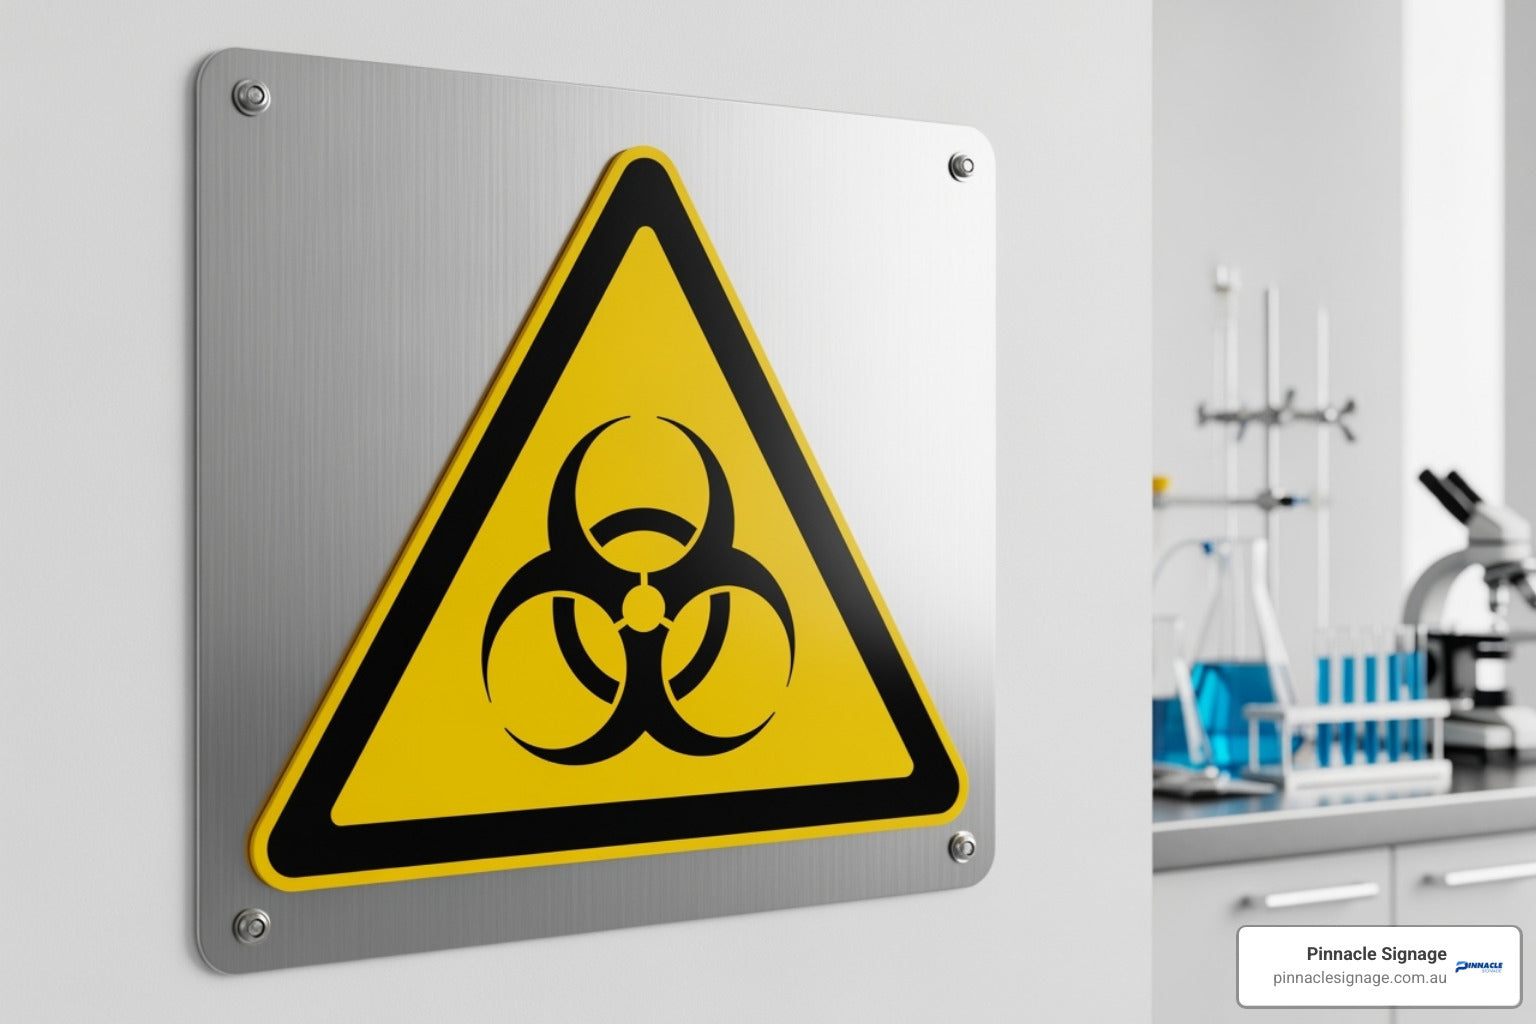
The visual design of biohazard warning signs prioritises instant recognition and maximum impact. The black symbol on a fluorescent orange-red background creates high visibility, catching the eye even in peripheral vision. This bright colour combination ensures the sign stands out in any environment, from sterile laboratory walls to industrial settings.
Signal words work alongside the symbol to communicate the level of risk. CAUTION signals minor injury risk, WARNING indicates potential for serious harm and DANGER is for immediate, severe threats. Most biohazard signs also prominently display the word "BIOHAZARD" to remove any ambiguity.
The high-contrast black lettering on a bright background ensures readability from a distance or in poor lighting. These design choices are based on decades of research into how people process visual information in emergency situations.
Understanding the distinctions between these signal words is important. Our article on Caution vs. Danger vs. Warning: What's the Difference? explains how these words carry significant meaning in workplace safety.
Where and When to Use Biohazard Signage

Understanding where and when to use biohazard warning signs is crucial for maintaining a safe workplace. These signs are your frontline defence against biological hazards. Across Australia, they are required in any environment where biological hazards are present, including medical facilities, research laboratories, veterinary clinics and waste-management facilities. During disease outbreaks, quarantine areas must also be clearly marked.
The principle is simple: if a biological hazard exists, signage is required. This fosters a safety culture where everyone understands and mitigates risks.
Common Locations Requiring Signage
Strategic placement is key to effective hazard communication. Signs must be clearly visible to anyone who might encounter the risk. Common locations include:
- Laboratory entrances: Prominent door signs should detail agents, entry/exit procedures, biosafety levels, contacts and required PPE.
- Refrigerators and freezers: Any unit storing potentially infectious materials like blood or tissue samples must be clearly labelled.
- Incubators, centrifuges and waste containers: Equipment processing biohazardous samples and all waste containers, including biohazard bags and sharps bins, require clear labels.
- Shipping containers and animal containment areas: Containers for transporting biological materials and areas housing potentially contaminated experimental animals must have clear signage.
The key is consistency—every potential point of contact with a biohazard should be appropriately marked.
Differentiating Between Signs and Labels for Biohazard Warning Signs
Though often used interchangeably, there’s a practical distinction between biohazard signs and labels that impacts your safety strategy.
Signs for locations are larger, permanent fixtures on doors or walls. They provide comprehensive information for an entire area, such as a lab door sign detailing biosafety levels, agents, contacts and PPE requirements, giving a full overview before entry.
Labels for containers are smaller labels affixed to individual items. Examples include labels on equipment (centrifuges, incubators), waste bags and sharps containers to ensure proper handling and prevent injuries.
Both signs and labels must use the consistent colour scheme of fluorescent orange-red with black symbols for unmistakable recognition. This dual approach of using area signs and container labels creates multiple layers of protection. For more guidance, Safe Work Australia offers resources on managing workplace risks like Guidance on managing risks from airborne contaminants.
Choosing the Right Materials and Formats
Choosing the right material and format for biohazard warning signs is critical for long-term safety and compliance. A sign that peels or fades is a failed warning. Key factors include durability, visibility, application surface and environmental conditions. A sign for an indoor lab won’t suit the harsh Australian outdoors. At Pinnacle Signage, we know matching the material to the environment is essential for effectiveness.
Common Materials and Their Benefits
- Self-adhesive vinyl: Ideal for labels on containers, equipment or irregular surfaces. Its strong adhesion ensures labels stay put, with lamination options for extra protection against moisture and chemicals.
- Rigid PVC plastic: A cost-effective and durable choice for most indoor applications. It’s lightweight, easy to install and resistant to chemicals found in labs and medical facilities.
- Aluminium composite panel (ACP): The premium choice for harsh industrial or outdoor conditions. It resists UV radiation, chemicals and extreme temperatures, offering exceptional durability and a long lifespan.
- Magnetic backing: A flexible solution for temporary needs. These signs can be easily applied and removed from metal surfaces, perfect for equipment under maintenance or temporary quarantine zones.
Each material offers the UV and chemical resistance needed for biohazard signs, ensuring your safety messages remain clear.
Sign Formats for Different Applications
The format of your biohazard warning signs determines how effectively they communicate in your specific environment.
- Wall-mounted signs: The most common choice for entrances and hazardous areas, available in various sizes to ensure visibility from appropriate distances.
- Projecting signs for hallways: These double-sided signs extend from the wall, ensuring visibility from both directions in busy corridors.
- Floor decals and stencils: Durable options for defining biohazard areas or directing foot traffic. Stencils allow for custom marking on various surfaces.
- Standing A-frame signs: Ideal for temporary warnings during cleaning or spills. These portable, stable and highly visible signs can be positioned wherever needed.
- Small stickers and labels: Ensure even small items posing a biohazard are clearly identified for safe handling.
This range of materials and formats ensures a solution for every workplace need, delivering reliable safety communication. For more tips, explore our guide on All About Caution Signage: Options and Tips.
Responsibilities and Best Practices for Implementation
Effective biohazard signage requires more than good design; it demands proper implementation, maintenance, and staff training. This goes beyond compliance to create a genuinely safer Australian workplace.
Who is Responsible for Biohazard Signs?
Responsibility for biohazard signage rests with the business owner or person controlling the workplace as part of their duty of care.
- Facility managers and business owners: Hold primary responsibility for procuring, installing, and maintaining compliant signage throughout the facility, based on thorough risk assessments.
- Safety officers and WHS managers: Handle day-to-day oversight, including hazard identification, sign selection, placement guidelines, and compliance audits.
- Laboratory supervisors and department heads: Oversee signage in specific areas, ensuring new hazards are marked and procedures are followed.
- Employees: Have a responsibility to understand and follow all warnings, use required PPE, and report damaged or missing signs. Safety is a shared responsibility.
Maintenance and Training for a Safer Workplace
High-quality signs are ineffective without proper maintenance and training. Ongoing safety management is key to their success.
- Regular inspections: Routinely check signs for fading, damage, or obstruction to ensure they remain effective.
- Cleaning for visibility: Keep signs clean from dust or splashes to ensure they are always legible.
- Replacing damaged signs: Immediately replace any faded, damaged, or illegible signs to maintain safety standards.
- Employee induction: New staff must receive comprehensive training on the meaning of biohazard signs, specific hazards, and safety protocols.
- Refresher training: Conduct regular training to keep staff knowledge on biohazards, sign meanings, and precautions current.
- Strategic placement: Place signs where they are highly visible and relevant to the hazard. Avoid cluttering areas with too many signs, which can reduce their effectiveness.
By combining quality signage with diligent maintenance and training, workplaces can significantly improve safety. For more guidance on identifying hazards, you can read [The Definitive Guide to Safety Sign Hazard Identification](https://pinnaclesignage.com.au/blogs/news/the-definitive-guide-to-safety-sign-hazard-identification).
Conclusion
Biohazard warning signs are a workplace's first line of defence. More than a regulatory requirement, they are active safety tools that prevent exposure to infectious materials and other biological agents. From its 1966 origins, the universal biohazard symbol, combined with fluorescent orange backgrounds, clear signal words, and essential details like Biosafety Levels, has evolved into a comprehensive and effective warning system.
Proper placement is critical, from comprehensive laboratory door signs to specific labels on equipment and containers. This dual approach ensures no hazard goes unmarked. Material selection is also key; choosing between vinyl, PVC, or aluminium composite panels ensures signs remain durable and legible. With various formats available, there is a solution for every application.
Most importantly, responsibility extends beyond installation. Regular maintenance, staff training, and ongoing compliance are foundational to a safe workplace. When everyone understands their role, these signs contribute to a living safety culture.
At Pinnacle Signage, we know there's no room for compromise with biological hazards. Our commitment to premium materials, customisable options, and reliable delivery ensures your Australian workplace receives signage that protects your team and business.
Clear communication is potentially life-saving. Quality signage is the cornerstone of hazard communication, and we provide durable, compliant solutions to keep Australian workplaces safe.
Explore our full range of Health and Safety Signage to find the perfect biohazard warning signs for your specific needs.