

Don't Get Lost in an Emergency! Mastering First Aid Signage
Why Clear First Aid Signage is a Non-Negotiable for Safety
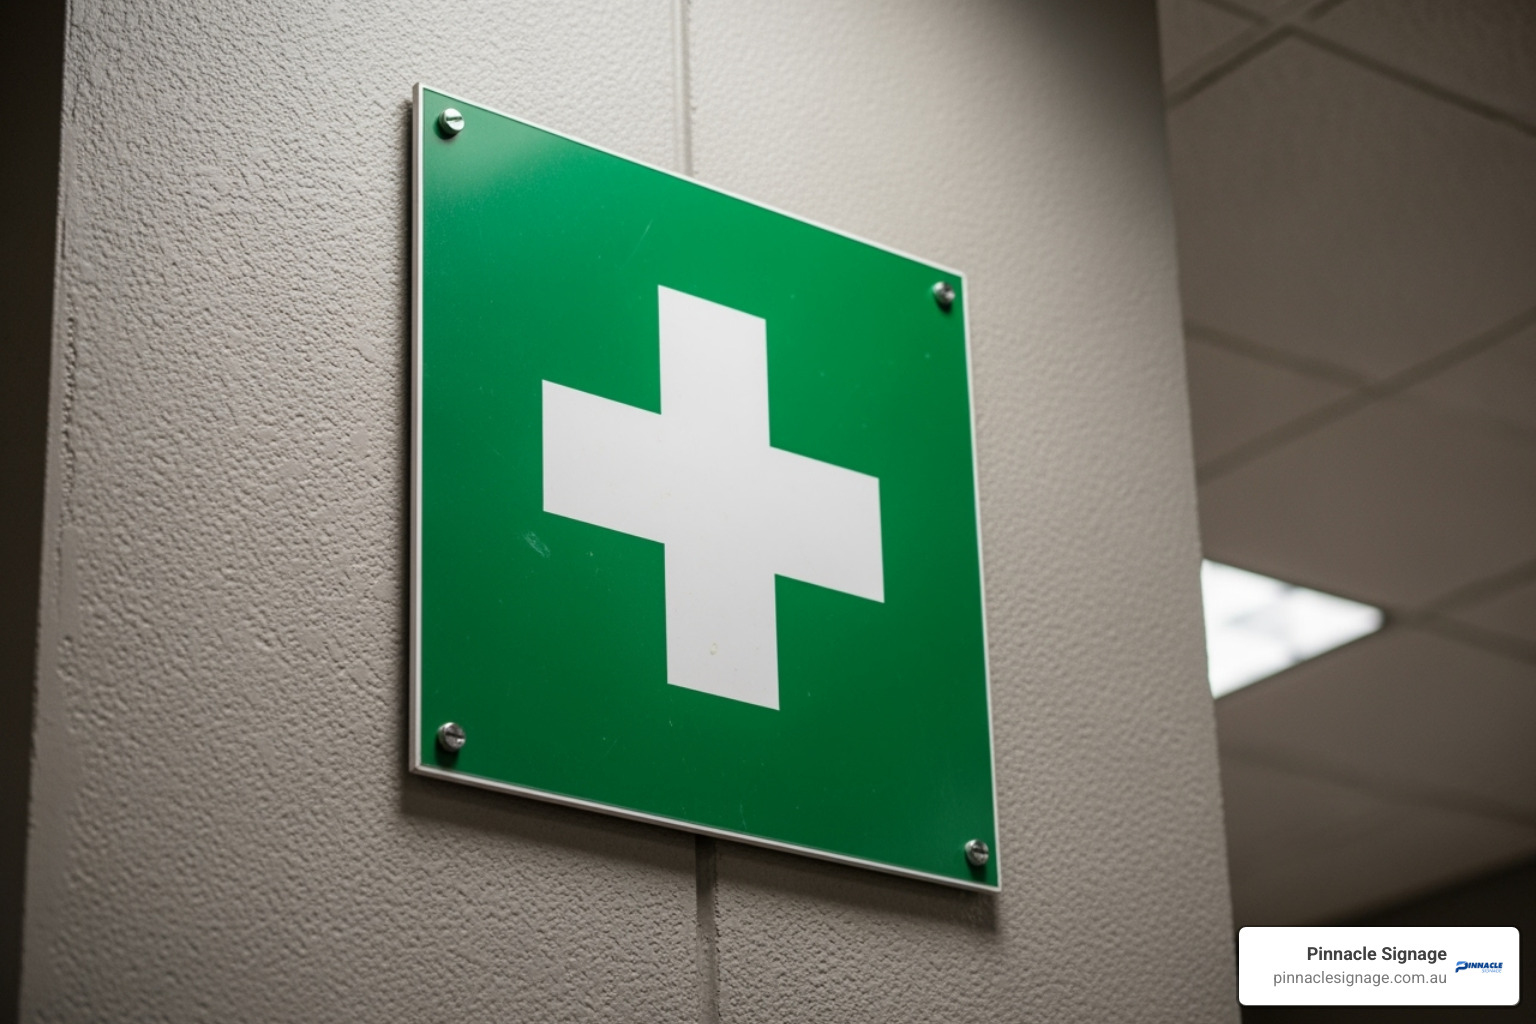
First aid signage is a critical safety tool that directs people to life-saving equipment and facilities during emergencies. When every second counts, clear and visible signage can mean the difference between a minor incident and a major crisis.
Key Elements of Effective First Aid Signage:
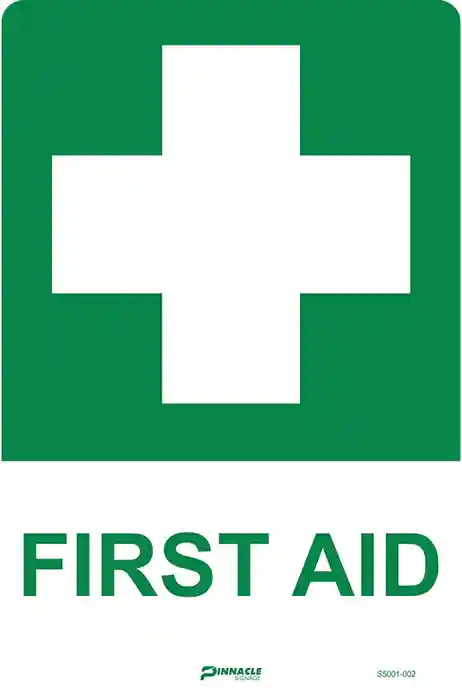
- Universal symbol: A white cross on a green background for instant recognition.
- Strategic placement: Positioned above equipment and in high-visibility areas.
- Durable materials: Weather-resistant options for indoor and outdoor use.
- Clear directional guidance: Arrows and text to guide people quickly.
- Compliance ready: Designed to meet Australian workplace safety requirements.
In Australian workplaces, from busy construction sites to quiet office environments, first aid signage plays a vital role in emergency preparedness. The universal white cross on a green background is a globally recognised symbol that transcends language barriers, ensuring anyone can locate critical first aid resources when they're needed most. This symbol has been standardised by the International Standards Organisation (ISO), with green designated as the official colour for emergency and safety symbols, creating a consistent visual language for safety across Australia.
For more information on safety signage, explore our guides:
- Safety Signs Shopping Guide: Where to Buy Online
- Safety Signage Australia: Your Guide to Clear and Compliant Signs
A Comprehensive Guide to First Aid Signage
Decoding the Symbols: Colours and Meanings
When seconds matter, first aid signage cuts through confusion. The familiar white cross on a green background is recognised across Australia because it's designed for universal understanding.

- Green Colour: Designated by the International Standards Organisation for safety, green signals that help is available.
- White Cross: This is the universal medical symbol, understood across different cultures and languages.
This universal recognition ensures that everyone, including visitors or workers with limited English, can immediately identify first aid resources. Other critical symbols follow this principle:
- AED Symbol: Helps people quickly find automated external defibrillators (AEDs) during cardiac emergencies.
- Eyewash Station Symbol: Guides workers to decontamination facilities in workplaces with chemical exposure risks.
Standardised symbols are crucial for overcoming language barriers, making workplaces safer for everyone.
Types of First Aid Signage for Every Need
An effective safety system uses different types of first aid signage to guide people to the right help. Your signage should form a clear network pointing to all available resources.
- First Aid Kit Signs: The foundation of any system, these point to basic supplies for common injuries. Required in every Australian workplace.
- First Aid Station Signs: These direct people to dedicated rooms or larger facilities with more comprehensive equipment, like stretchers or washing stations.
- AED Location Signs: Critical for saving lives, these signs must be highly visible to ensure automated external defibrillators can be found within minutes of a cardiac event.
- Emergency Shower and Eyewash Station Signs: Essential in any workplace with chemical exposure risks, guiding people to immediate decontamination.
- Directional Arrows: Simple but vital, these arrows work with other signs to create clear pathways to safety equipment, especially in large or complex buildings.
- First Aider Identification Signs: Help locate trained personnel quickly by identifying individuals or pointing to a list of current first aiders.
Each sign type plays a specific role in your emergency response plan, ensuring anyone can find the help they need without delay.
To dive deeper into specific applications and requirements, check out our detailed guide on First Aid Post Sign Types: Everything You Need to Know.
Strategic Placement: Where to Install Your Signs for Maximum Impact
Having the right first aid signage is only half the battle, strategic placement makes it a life-saving tool. The goal is to create a visual safety net that catches attention when it's needed most.
- High Visibility: Place signs in well-lit areas where they can't be missed. A sign hidden behind equipment or in a dark corner is useless in an emergency.
- Common Pathways: Install signs in corridors, main entrances, and break areas. Familiarity with sign locations builds naturally through daily foot traffic.
- Above Equipment: The most logical placement is directly above or adjacent to the first aid kit, AED, or station it identifies.
- Clear Sightlines: Ensure signs are visible from multiple angles. Projecting signs (L-shaped or T-shaped) are ideal for hallways, as they can be seen from either direction.
- Unobstructed Views: Regularly check that signs haven't been blocked by stacked boxes, parked equipment, or other temporary obstructions.
Smart placement at key decision points, like intersections and doorways, helps guide people along the fastest route to safety.
For more insights into making your safety signage work harder for you, explore our guide on Workplace Safety Signs That Speak Louder Than Words.
Choosing the Right Materials for Durability
Selecting the right material for your first aid signage ensures it withstands your specific environment, from an air-conditioned office to a sun-baked construction site.
- Polypropylene: A versatile and cost-effective plastic suitable for most indoor and outdoor applications, offering good resistance to moisture and chemicals.
- Metal Signs: Made from pre-coated steel, these are ideal for heavy-duty industrial or construction environments where impact resistance and longevity are critical.
- Self-adhesive Vinyl: A flexible and economical solution for smooth, clean surfaces. Perfect for applying directly to equipment or in sheltered indoor areas.
- Corflute: A lightweight and rigid material excellent for temporary signage on construction sites or at events.
- Photoluminescent Materials: These "glow-in-the-dark" signs are essential for emergency applications. They absorb light and remain visible during a power outage, marking exit paths and first aid stations.
Australian conditions demand materials that can handle UV exposure, temperature extremes, and humidity. Choosing the right material ensures your signage remains clear and effective year-round.
For comprehensive guidance on selecting the right materials for your specific needs, check out our detailed resource: An Essential Guide to Choosing the Right First Aid Signage.
Ensuring Your First Aid Signage is Effective
First aid signage is a critical part of providing a safe working environment. Effective signage improves rapid response, strengthens emergency preparedness, and gives employees confidence that help is accessible.
To ensure your signs remain effective, perform regular maintenance:
- Regular Inspections: Check signs for cleanliness, damage, and fading. A dirty or sun-bleached sign is hard to see and may cause confusion.
- Location Accuracy: If first aid equipment is moved, update the signage immediately. An outdated sign pointing to an empty location is a serious hazard.
- Damage Checks: Look for peeling, cracks, or loose mountings that could affect visibility or durability, especially for signs in harsh environments.
Well-maintained signage demonstrates a commitment to safety and ensures your system works when needed.
Common Mistakes to Avoid with First Aid Signage
Even with the best intentions, common mistakes can undermine your first aid signage system. Avoid these pitfalls to ensure your signs are effective during an emergency.
- Poor Placement: Placing signs where they are blocked by equipment, inventory, or even a door. Signs must have a clear, unobstructed line of sight.
- Using Damaged Signage: Ignoring faded, cracked, or dirty signs. Australia's harsh sun can quickly make signs illegible, rendering them useless.
- Wrong Materials for the Environment: Using indoor-rated signs outdoors, where they will quickly degrade from weather and UV exposure.
- Outdated Information: Failing to update signage when first aid stations or kits are relocated. This creates dangerous confusion in an emergency.
- Forgetting Low-Light Areas: Overlooking the need for photoluminescent (glow-in-the-dark) signs in areas that could be plunged into darkness during a power outage.
By avoiding these common errors, you can ensure your first aid signage works perfectly when everything else is going wrong.
Find the Right First Aid Signs for Your Workplace
Quality first aid signage is a fundamental investment in protecting your staff. When every second counts, clear, visible signs are your first line of defence in an emergency.
At Pinnacle Signage, we manufacture premium signage products in Wagga Wagga, NSW, designed to withstand unique Australian conditions. From harsh UV exposure to demanding industrial environments, our signs are built to perform when it matters most. We offer a comprehensive range of customisable first aid signage for construction, retail, hospitality, and commercial offices across Australia.
Our commitment to quality is matched by our fast turnaround times and reliable Australia-wide delivery. We partner with you to create a safer workplace, providing expert advice on the right materials and solutions for your specific needs. Don't settle for generic signs that won't last.
For more help selecting the right products, explore The Ultimate Online Shopping Guide for Safety Signs.
Ready to upgrade your workplace safety? Shop First Aid Signage Now to find our complete range of high-visibility, durable solutions.